Using Draft Pages
Complexity Level: Basic
Overview
Draft pages let you work on changes to your website without visitors seeing them right away. Think of drafts like a private notepad where you can perfect your content before showing it to everyone. This feature is helpful when you need to make big changes or when you want someone else to review your work before it goes live.
When to Use This Feature
You'll want to use draft pages when:
- You're making major updates to an important page
- You need to work on changes over several days
- You want someone else to review your changes before visitors see them
- You're not quite ready to publish new content
- You want to experiment with different layouts or wording
Step-by-Step Instructions
Creating a Draft Page
-
Navigate to your Site Structure by clicking My Website, then Website Content.
-
Locate the page you want to edit.
-
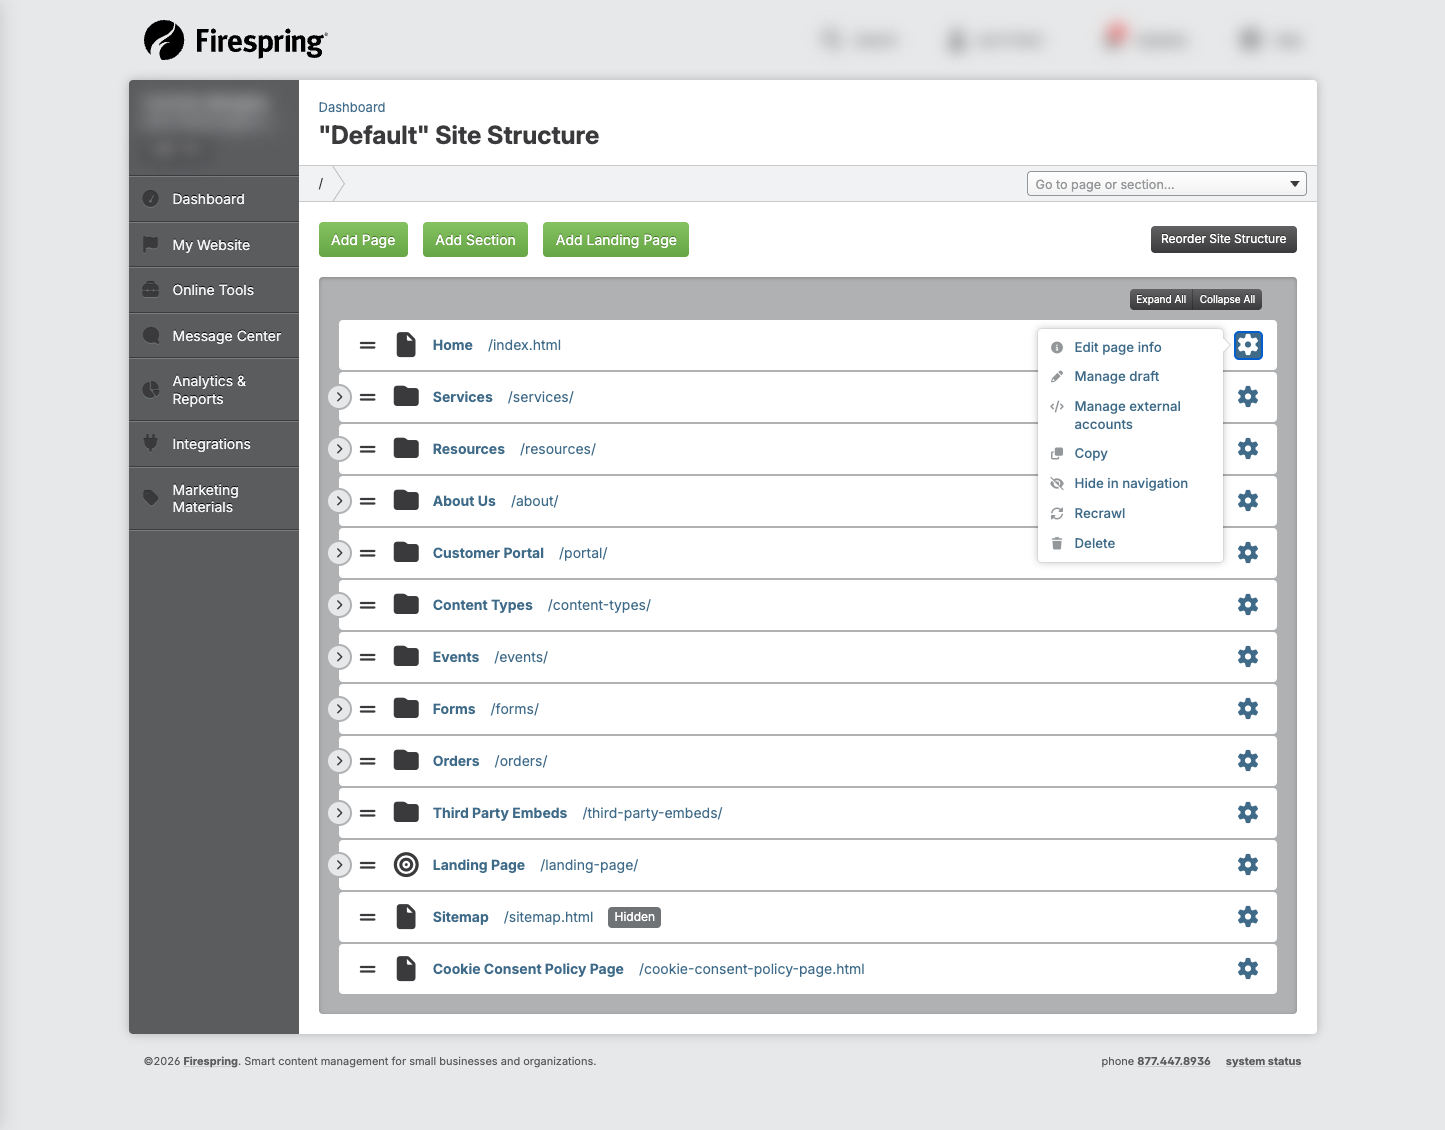
Click the gear icon next to the page.
-
Click Create draft in the dropdown menu.
-
Your draft will open automatically upon creation, and you can begin editing.
- You'll see the Draft icon next to the in the top left corner to remind you that you're editing a draft.
- Make your content changes as you usually would on a live page.
-
You can return to your live page at any time if edits are necessary, or to view the live content:
- Click Return to Live in the top right corner.
- Your draft will be available to you to edit whenever necessary, and the changes made will not be visible on your live website until you publish your draft.
- To return to your draft from the live page, click Switch to Draft in the top right corner.
Editing Your Draft
-
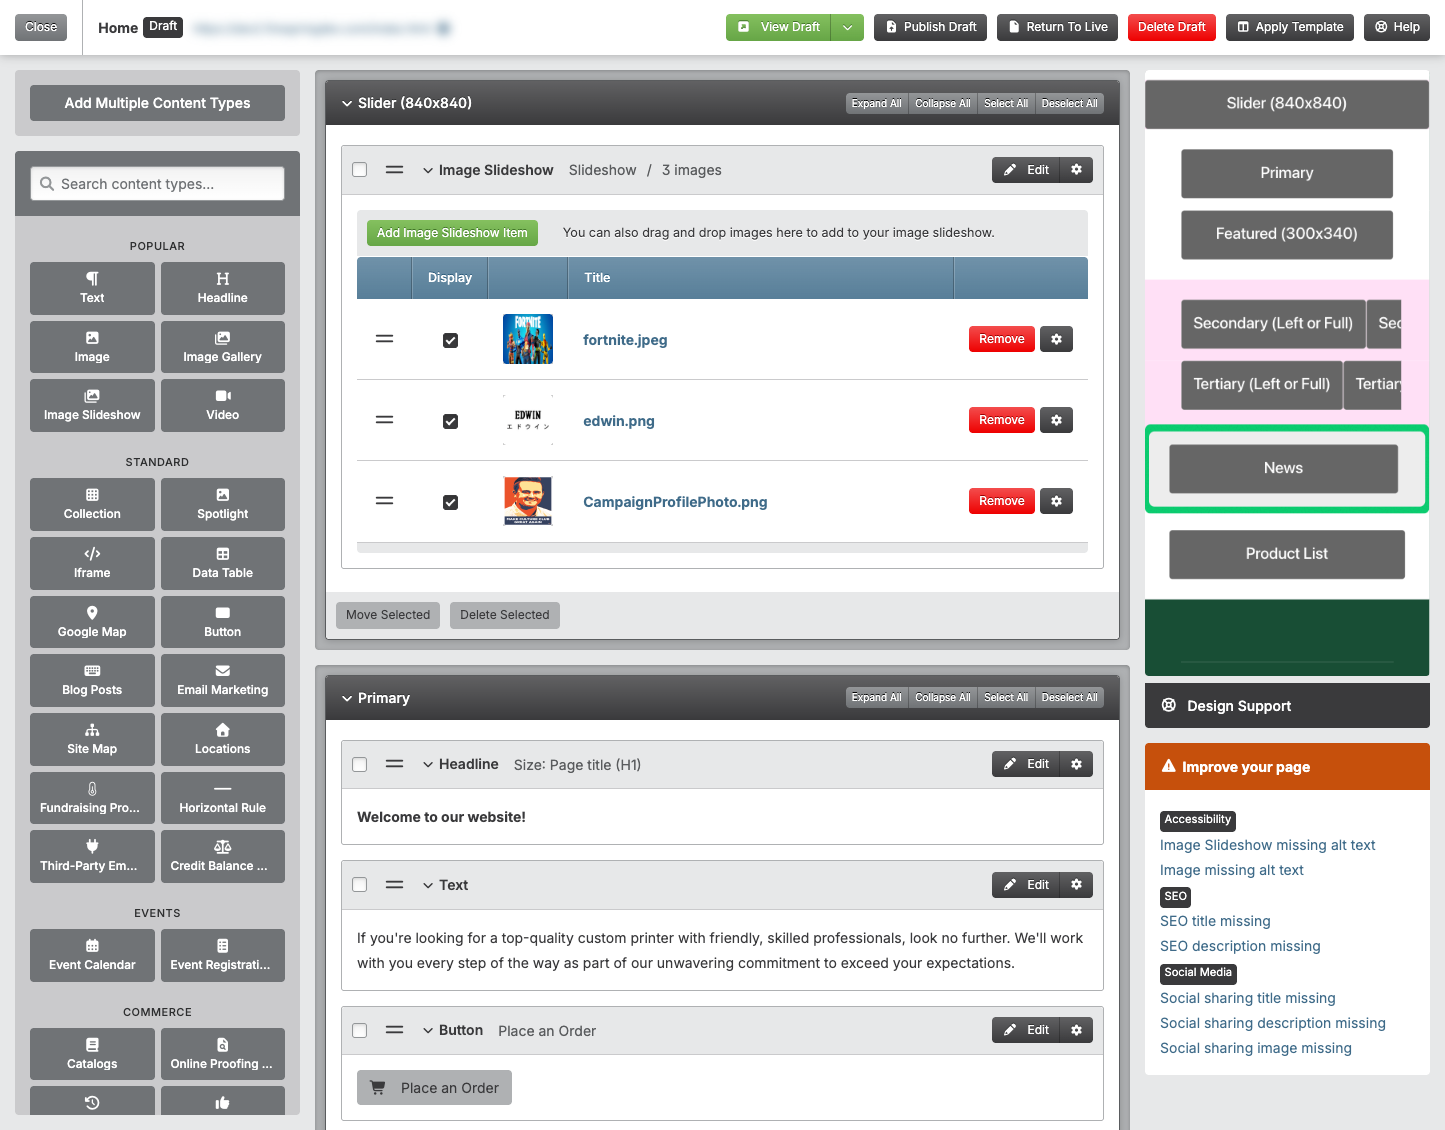
Make changes to your page just like you normally would:
- Locate the content type you would like to add to the page in the left hand menu.
- Drag the content type to your preferred page placement, then drop it into place.
- Fill out the required information, then click Save & Close.
-
To save your draft without publishing:
- Click Return to Live in the top right corner.
- Any changes made before returning to the live page will remain.
-
Come back and continue working on your draft later:
- Click Switch to Draft in the top right corner.
- Your draft will be available to you to edit whenever necessary, and the changes made will not be visible on your live website until you publish your draft.
Previewing Your Draft
- While editing your draft, click the green View Draft button in the top right corner.
- A new tab will open in your browser with your draft preview.
- You can share this URL just like you would a live URL to get feedback from your team.
- If at any point you want to break the draft URL so it is no longer viewable, click the arrow next to View Draft, then Reset Draft URL.

Publishing Your Draft
When you're ready to make your draft visible to website visitors:
-
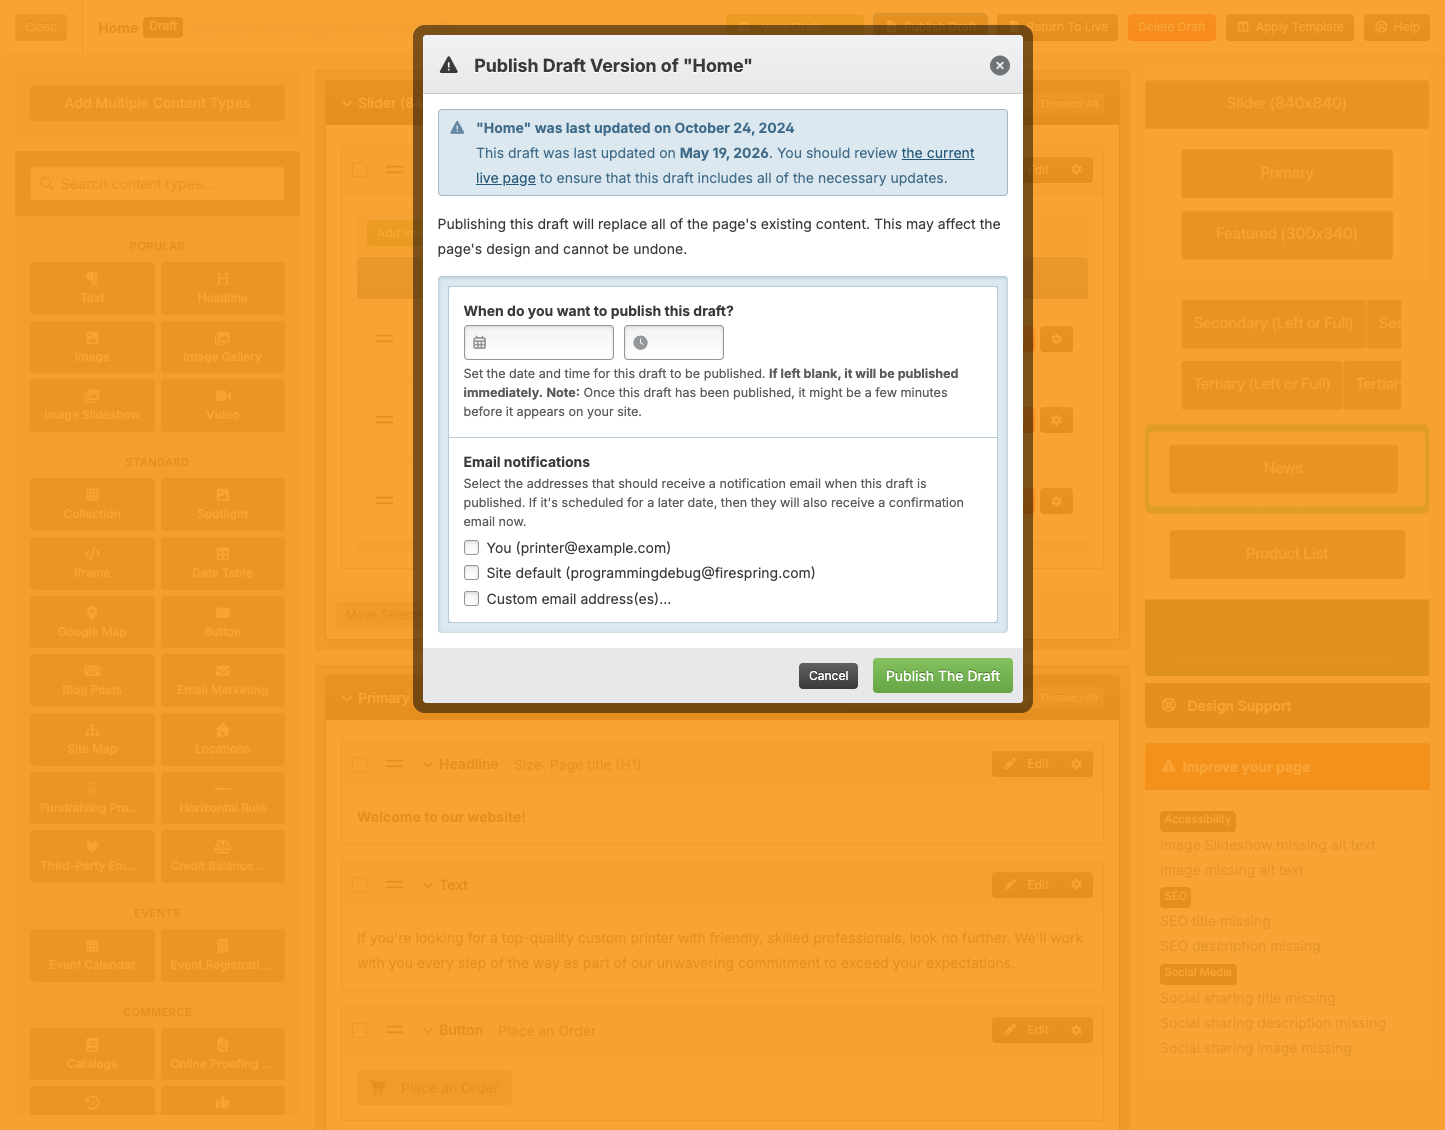
While viewing your draft, click the grey Publish button in the top right corner.
-
A Publish Draft modal will appear. Set a date and time for your draft to be published. Leave the date and time blank to publish your draft immediately.
-
Select the email address(es) that should receive a notification email when the draft is published.
-
Click Publish The Draft.
-
Your changes will now appear on your live website at the scheduled date and time. Once your draft has been published, it might be a few minutes before it appears on your site.
Discarding a Draft
If you decide you don't want to keep your draft:
-
While viewing your draft, click Delete Draft in the top right corner.
-
A confirmation message will appear. Deleting a draft is permanent.
-
Click Yes, Delete It.
-
Your draft will be deleted and you will be returned to the main Site Structure.

Tips & Helpful Guidance
- Use the preview feature to see exactly how your page will look when published. You can share the preview URL with teammates when needed, and reset it and send a new one when you have more changes to approve.
- Drafts are private, so only Springboard users or people who you share the URL with directly will be able to see the draft.
- You can have only one draft of each page at a time.
- The Draft icon will appear next to the page title when you're editing a draft. This will help you remember that edits you're making are not on the live page.
- If you can't create a draft, you might not have permission - check with your website administrator for access.
- Drafts don't expire - they will remain in your Springboard until you publish or delete them.
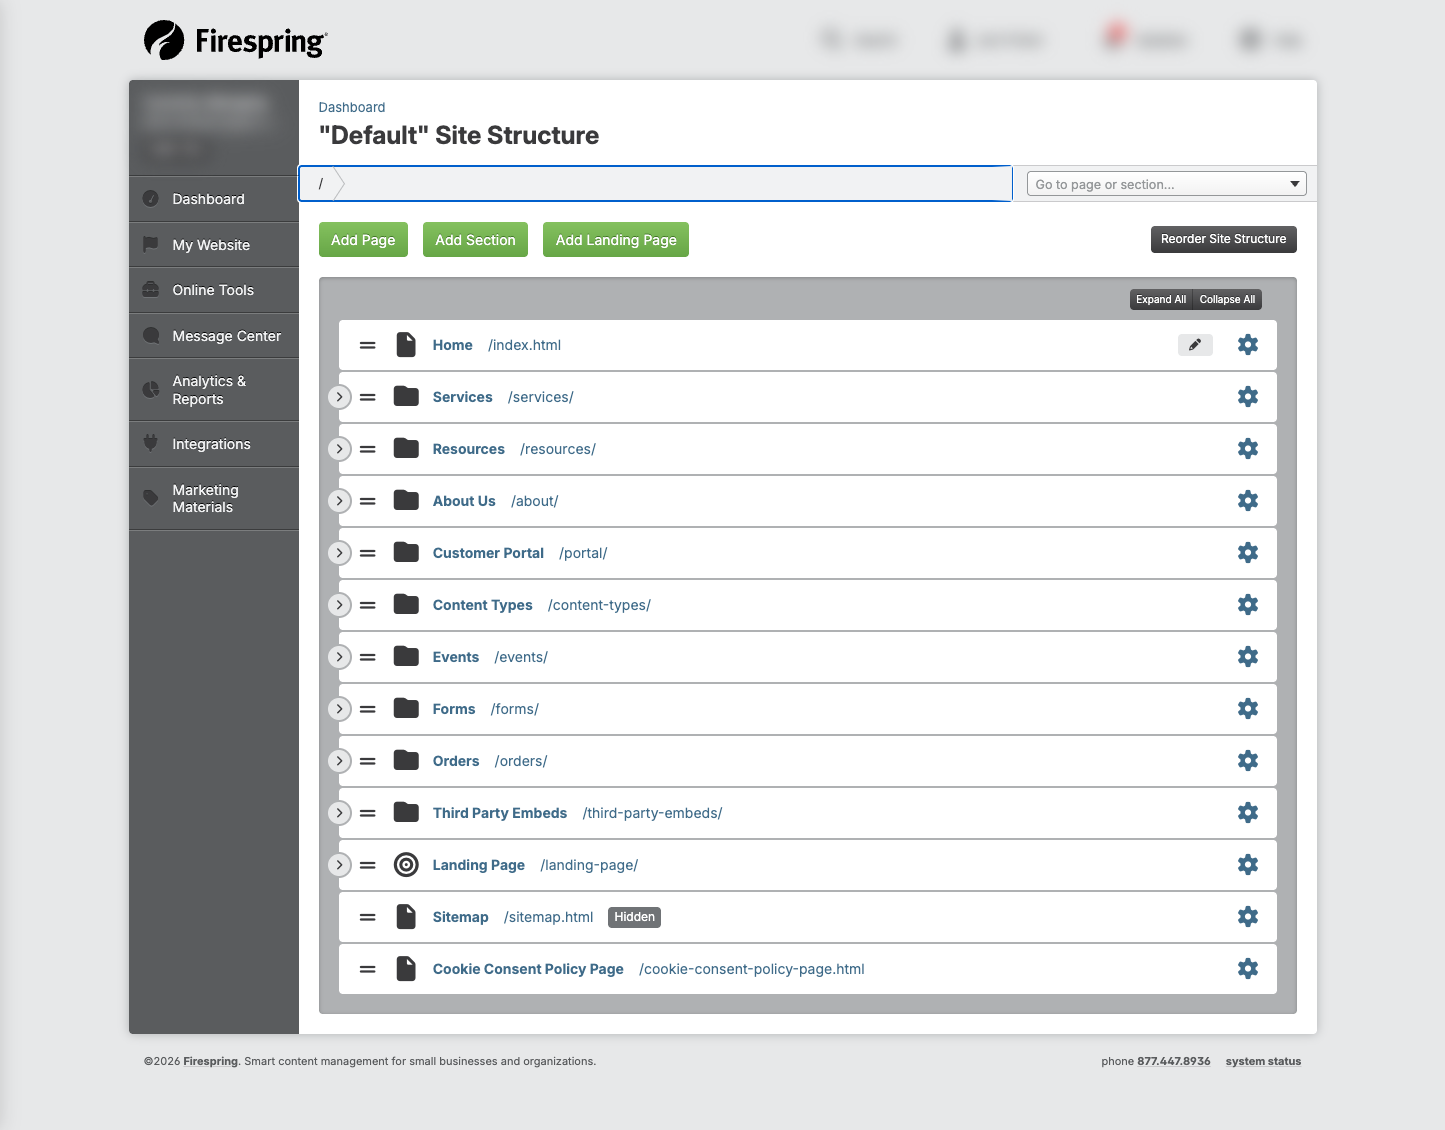
- You can see which pages have drafts by looking for the pencil label in your site structure.
Troubleshooting
Problem: You can't find your draft
Solution:
- Look for pages with a pencil icon in your Site Structure.
- Check if someone else with access to your website published or discarded the draft.
Problem: Your draft was published before you were ready
Solution:
- You can create a new draft of the page to continue making changes
- Someone else with access to your website might have published the draft.
- There's no way to unpublish a draft. You can edit the content on the new live page, or create a new draft if you would like to continue making edits that are not visible on the public site.
Problem: You can't create a draft
Solution:
- Check if you have permission to edit pages - you might need to ask your website administrator.
- If your administrator has updated your access and you're still unable to create drafts, reach out to Firespring Support to help troubleshoot.