Preparing Print-Ready Files
Complexity Level: Basic to Advanced
Overview
This page helps you prepare and submit print-ready files in Springboard using VersaDoc™.
A print-ready file is a file prepared for professional printing. Customers can enter their own data into these documents. You can use the Print-Ready Files area in Springboard to request new items, request edits to existing items, and download finished order files.
Words used on this page
- Dashboard: The first screen after you sign in. It is your starting point.
- Menu: The list of choices you click to move around Springboard.
- VersaDoc™: Firespring's variable publishing system. It lets customers enter data into pre-built templates.
- Proof: A preview copy you review before final printing.
- Preview: A live look at what the printed piece will look like.
- CMYK: A print color format made from four inks.
- Pantone: A print color system used for exact color matching.
When to Use This Feature
Use this section if you need to:
- Prepare files before requesting a new print item.
- Request a new print-ready item.
- Request an edit to an existing item.
- Process and download new print-ready order files.
- Reprocess past orders.
Gathering Files Before Requesting a New Item
Use this task to make sure you have everything ready before you submit a new request.
-
Check your colors.
- Use CMYK or Pantone colors for printing.
-
Package your files.
- Native files: Layout files, such as InDesign or Illustrator.
- Images: Include any linked images.
- Fonts: Include PC-compatible fonts, preferably TrueType or OpenType.
-
Include sample PDFs.
- Include one sample with maximum fields filled in.
- Include one sample with minimum fields filled in.
-
Determine if your printer needs any of the following.
- Crops: Small guide marks for trimming.
- Bleeds: Color that extends past the edge so no white shows after trimming.
- Multi-up sheets: Several copies printed on one sheet.
- Imposition: How pages are arranged for printing and folding.
-
Include additional details.
- Add notes that will help build your item.
Requesting a New Print-Ready Item
Use this task when you want to submit a brand-new item for setup. VersaDoc™ item requests must be submitted through the VersaDoc™ New Item Request Form. Files submitted by email are not accepted.
-
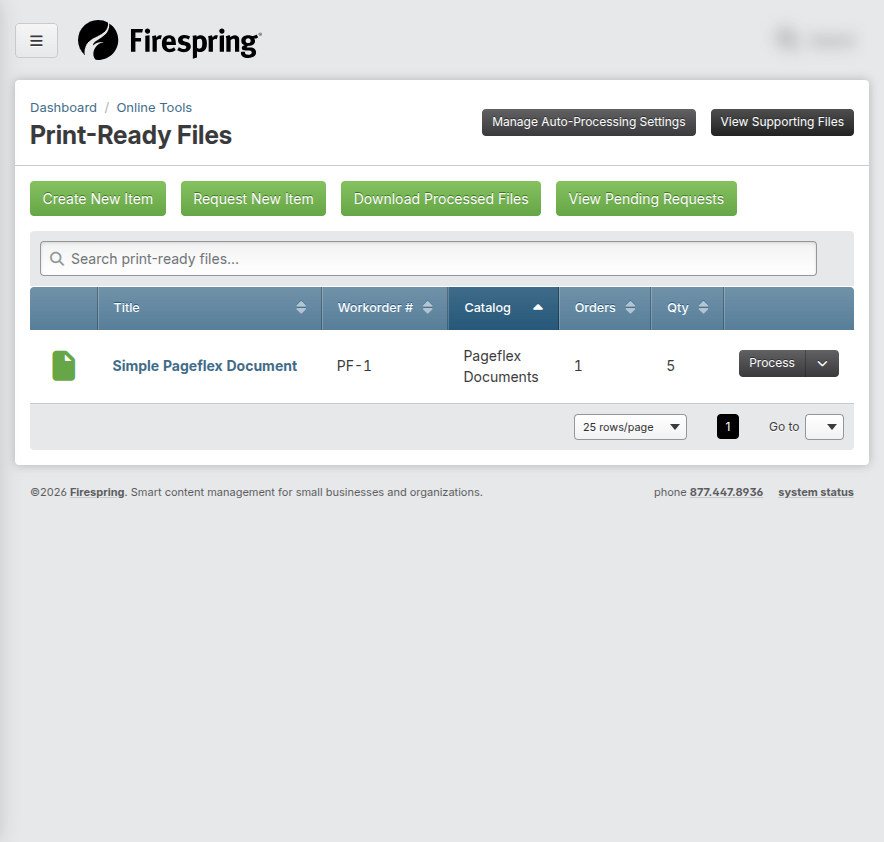
In the left-hand menu, click Online Tools, then click Print-Ready Files.
Print-Ready Files are not available
If you do not see Print-Ready Files in Springboard, you may need a service upgrade or updated permissions. Ask your organization's Primary Administrator to update your access, or contact Firespring Support.
-
Click the green Request New Item button in the top-left corner.
-
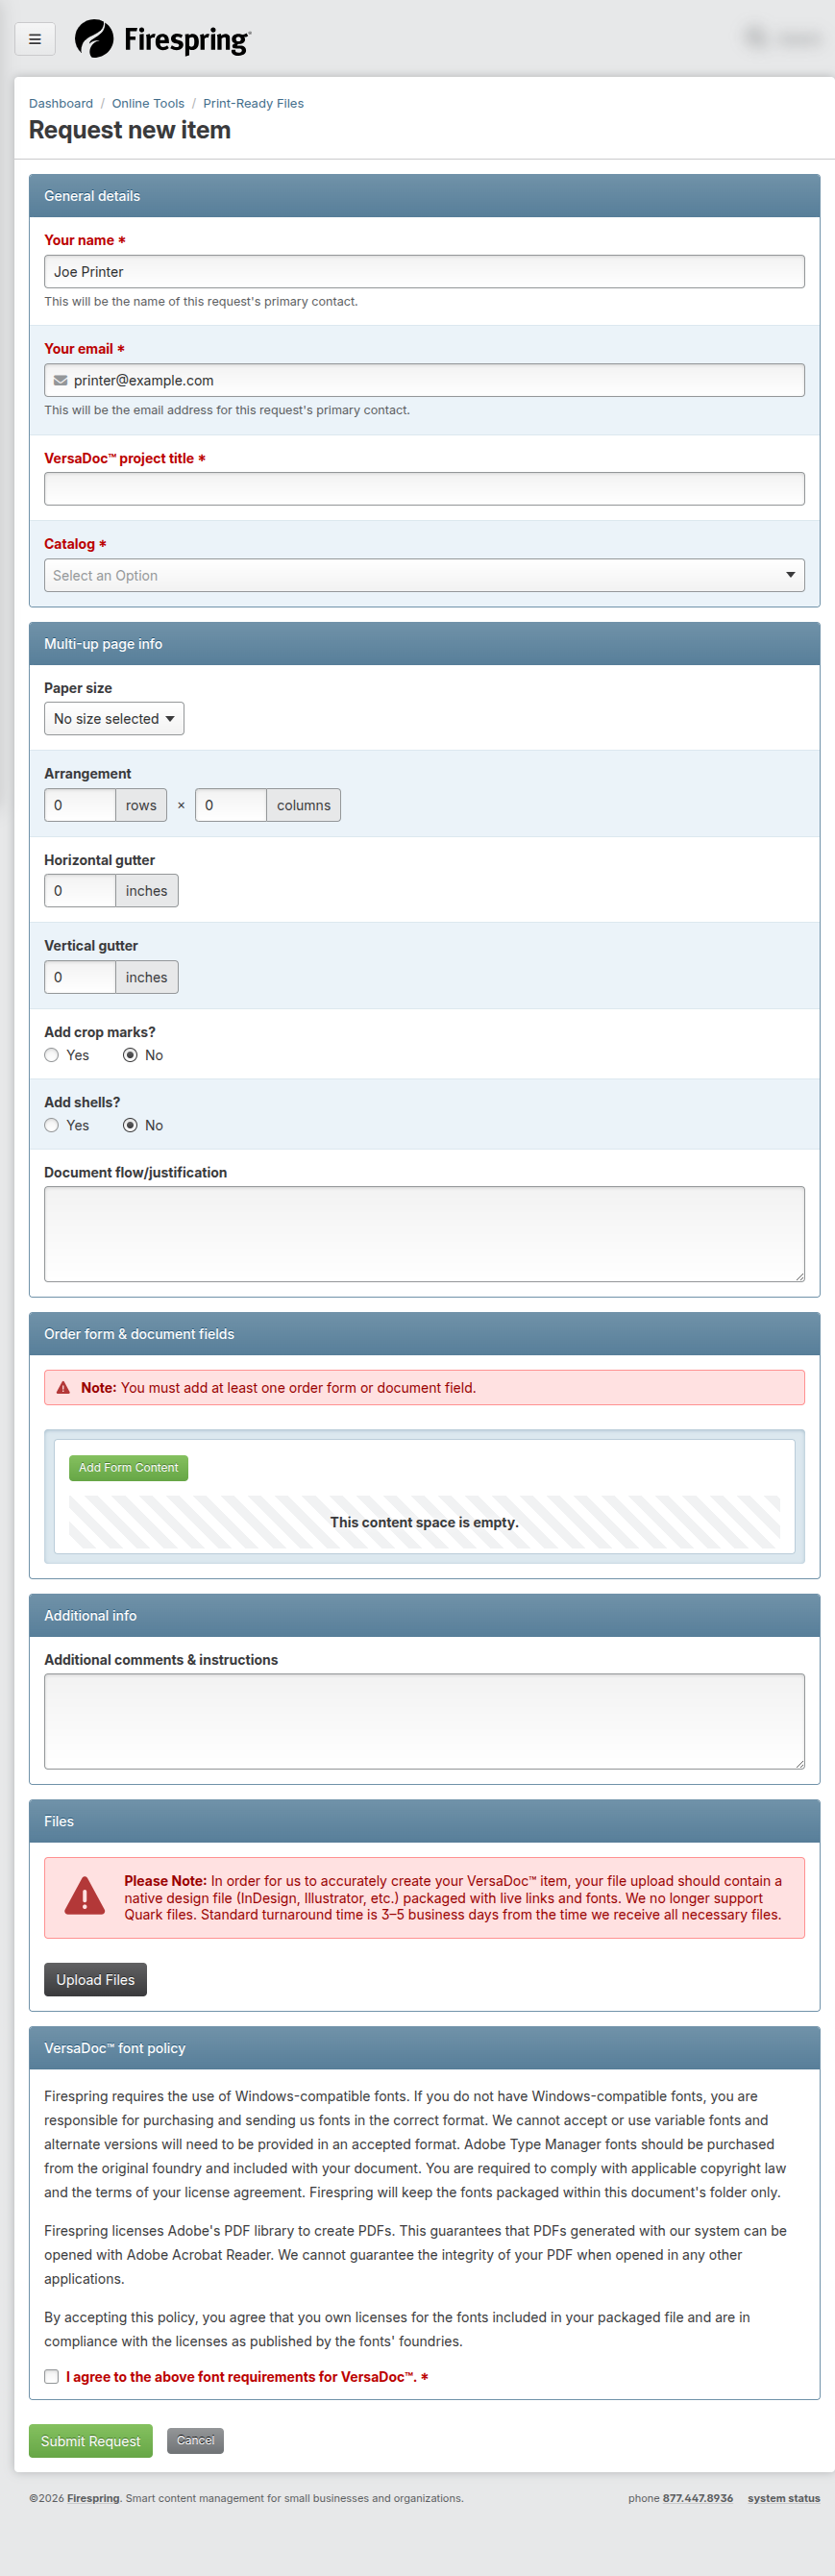
Fill out the General details section.
- Your name: This auto-fills from your Springboard profile. Update if needed.
- Your email: This auto-fills from your Springboard profile. Update if needed.
- VersaDoc project title: Enter a short, descriptive title.
- Catalog: Choose a catalog from the dropdown.
- Add notes and special instructions.
-
Fill out Multi-up page info if needed.
- Paper size: Choose a paper size. Select Custom if needed.
- Arrangement: Enter the number of rows and columns.
- Horizontal gutter: Enter in inches.
- Vertical gutter: Enter in inches.
- Add crop marks: Toggle to Yes if needed.
- Add shells: Toggle to Yes if needed.
- Document flow/justification: Enter your preferred setting.
-
Update Order form & document fields.
- Click Add Form Content and choose a Field Type.
- Fill out required details and click Save & Close.
- Repeat as needed.
-
Enter any Additional comments & instructions.
-
Click the gray Upload Files button and choose your files.
Native file design
To create your VersaDoc™ item accurately, upload a native design file (InDesign, Illustrator, and similar files) packaged with live inks and fonts. Quark files are not supported. Standard turnaround time is 3 to 5 business days after all required files are received.
-
Double-check all information.
-
Read the VersaDoc™ font policy and check the agreement box.
-
Click Submit Request.
Requesting an Edit to an Existing Item
Use this task when you need to update a print-ready item that already exists in Springboard.
-
In the left-hand menu, click Online Tools, then click Print-Ready Files.
-
Locate the item you want to update.
-
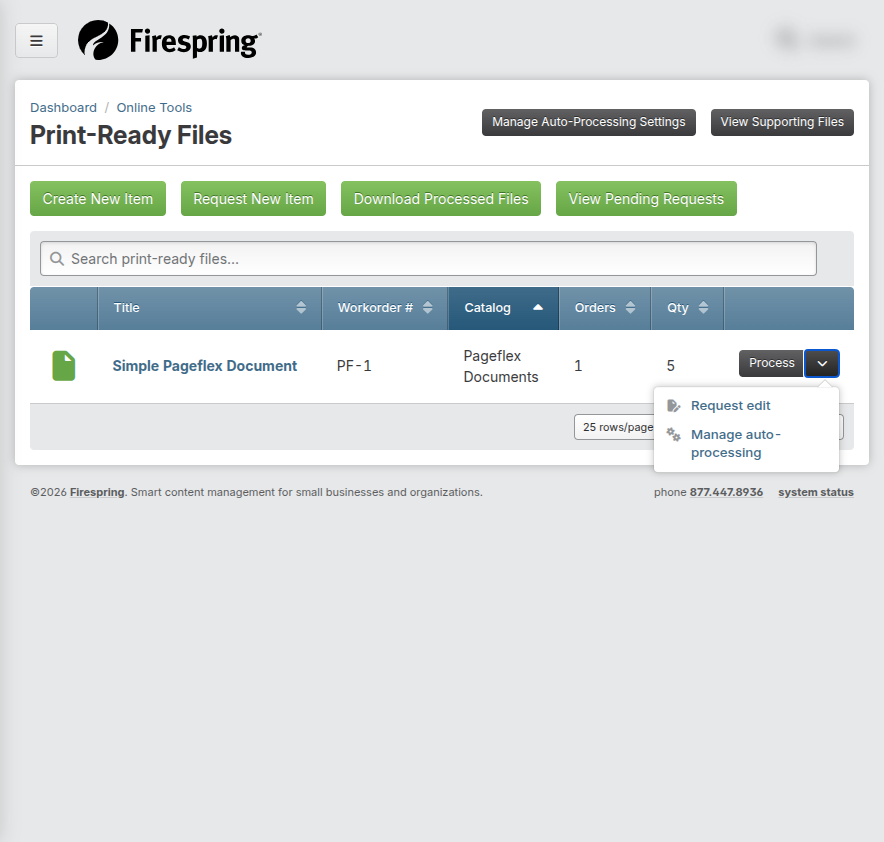
Click the dropdown next to the item, then click Request Edit.
-
Fill out Edit request details.
- Your name: Update if needed.
- Your email: Update if needed.
- Comments & instructions: Enter clear details about requested changes.
- Files: Click Upload Files if you need to include new files.
-
Read the VersaDoc™ Font Requirements and check the agreement box.
-
Click Submit Request.
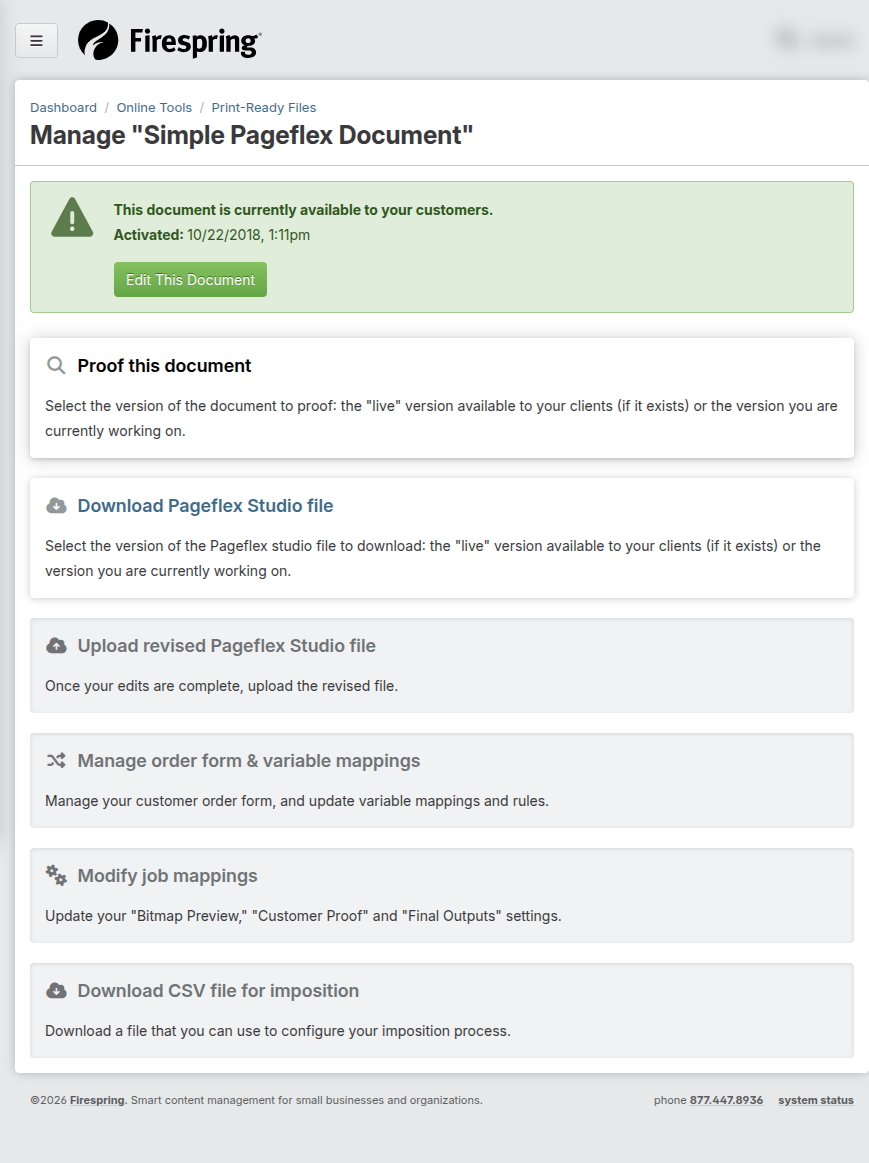
Processing and Downloading Print-Ready Files
Use this task when you see new orders for a print-ready item or need to download a previously processed order.
-
In the left-hand menu, click Online Tools, then click Print-Ready Files.
-
Locate the document you want to process.
- Documents with orders ready to process usually show a green icon.
-
Click the gray Process button next to the item.
-
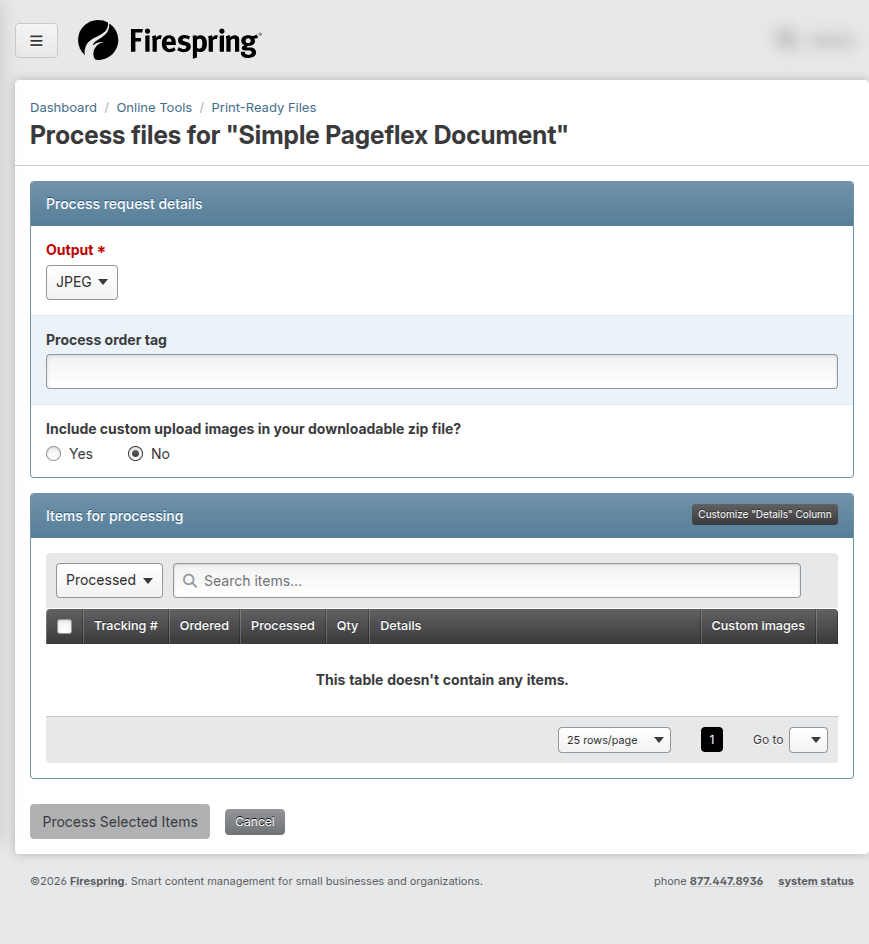
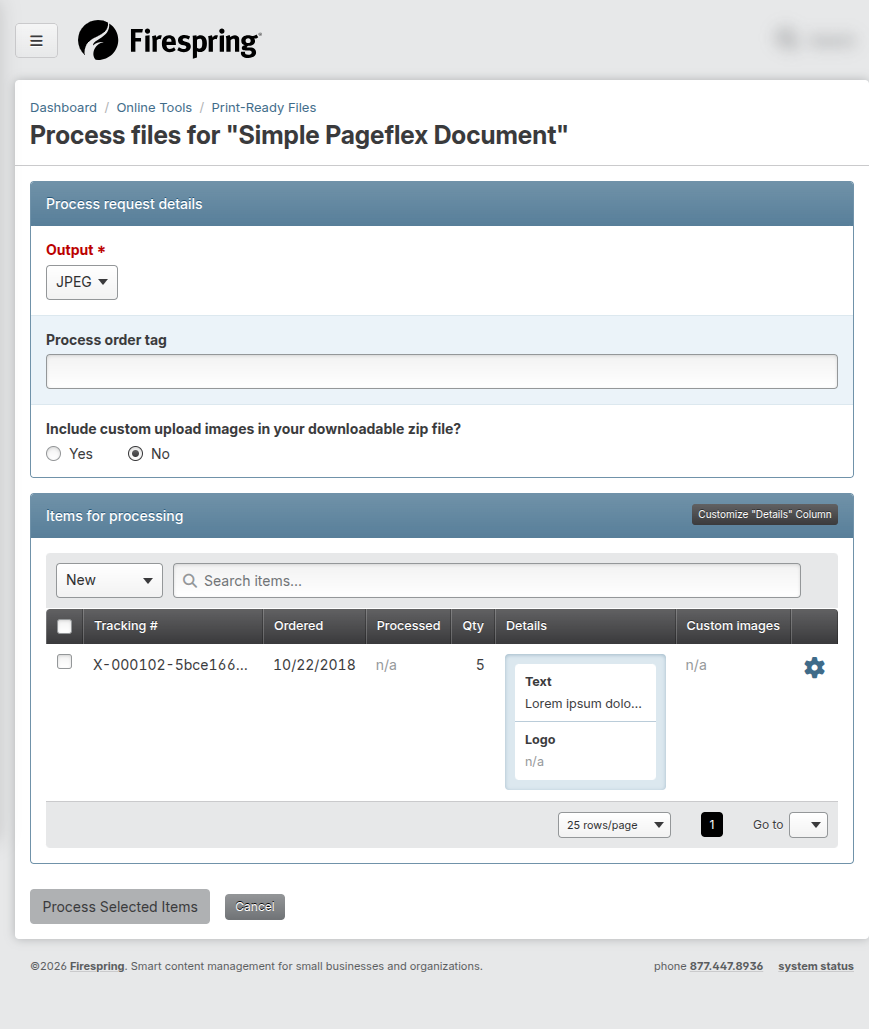
Update Process request details as needed.
- Output: Choose from the dropdown.
- Process order tag: Enter if needed.
- Include custom upload images: Toggle to Yes if needed.
-
In Items for processing, review the dropdown.
- It usually defaults to New items.
Viewing all items
To see both new and archived items, use the dropdown in Items for processing and choose All Items.
-
Select the checkbox next to each order you want to download.
-
Click Process Selected Items.
-
Wait for the file download to begin.
Reprocessing Past Orders
Use this task when you need to download a previous order again.
-
In the left-hand menu, click Online Tools, then click Print-Ready Files.
-
Locate the document you want to process.
-
Click the gray Process button next to the item.
-
In Items for processing, use the dropdown to choose All Items or Processed.
-
Select the checkbox next to each order you want to download.
-
Click Process Selected Items.
-
Wait for the file download to begin.
Understanding Same-Screen Preview (Customer View)
Use this section to guide customers who order print-ready items from your website.
-
The customer adds the item to their cart.
-
The customer clicks Add Item(s) to Cart and lands on a page with form fields and a preview.
-
The customer fills in required fields and uploads required images.
-
The customer clicks Update Preview to view a generated preview with their information.
-
The customer makes edits as needed and clicks Update Preview again.
-
When satisfied, the customer clicks Add to Cart.
Tips & Helpful Guidance
- Use clear file names so teammates can find items quickly.
- Save confirmation messages in case you need follow-up information.
- If you are unsure about crops or bleeds, ask a print services manager.
- Contact VersaDoc™ Support if you need help.
Troubleshooting
Problem: You cannot find the item you need to process
Solution:
- Use the search box on the Print-Ready Files list.
- Change the dropdown to All Items or Processed if the item was already processed.
- Check with your Primary Administrator to confirm whether the item name changed.
Problem: Your file download does not start automatically
Solution:
- Check browser settings to confirm downloads are allowed.
- Check your browser downloads list to see whether it already finished.
- Try processing one order at a time.
Problem: You do not see Print-Ready Files in Online Tools
Solution:
- Ask your Primary Administrator to review your permissions.
- Contact Firespring Support if your organization needs a service-level upgrade.
Problem: Your upload fails on the request form
Solution:
- Check your internet connection.
- Check file size. If the ZIP file is larger than 2 GB, upload in smaller batches.
- Contact VersaDoc™ Support if the problem continues.
Summary
Preparing print-ready files is easiest when you follow a consistent routine: gather the right files, submit through the request form, and process orders from the Print-Ready Files list.