Creating and Managing Blog Posts
Complexity Level: Basic
Overview
This page shows you how to create and manage blog posts on your Springboard website. Blog posts are dated articles that appear on your website's news or blog page. They're perfect for sharing announcements, news updates, or helpful information with your website visitors.
Words used on this page
- Blog post: A dated article that appears on your website's news or blog page.
- Category: A classification system that helps organize your blog posts.
- Featured image: The main picture that appears within your blog post.
- Publish date: The date when your blog post will appear on your website.
When to Use This
Use this section if you need to:
- Create new articles for your website's news or blog page
- Update existing blog posts with new information
- Organize your blog posts into categories
- Schedule blog posts to publish on specific dates
- Create different types of blog posts (articles, links, headlines, downloads)
- Add the blog post component to a website page
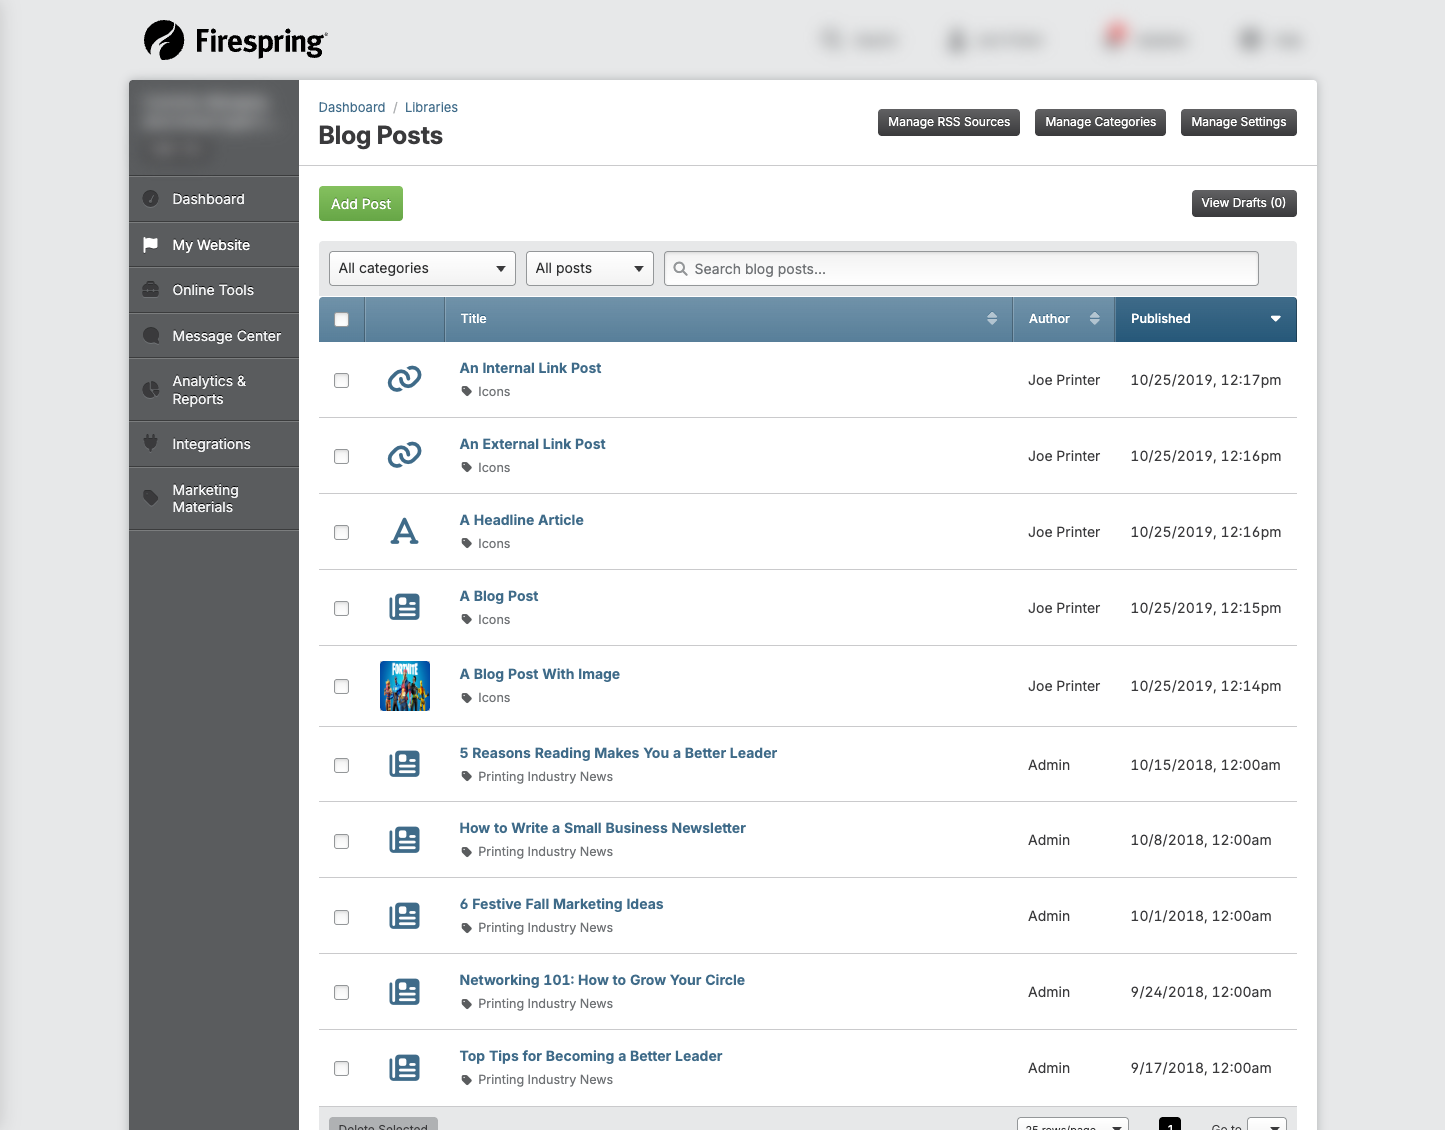
Creating a New Blog Post
Creating a new blog post is easy with the Springboard. Follow these steps:
-
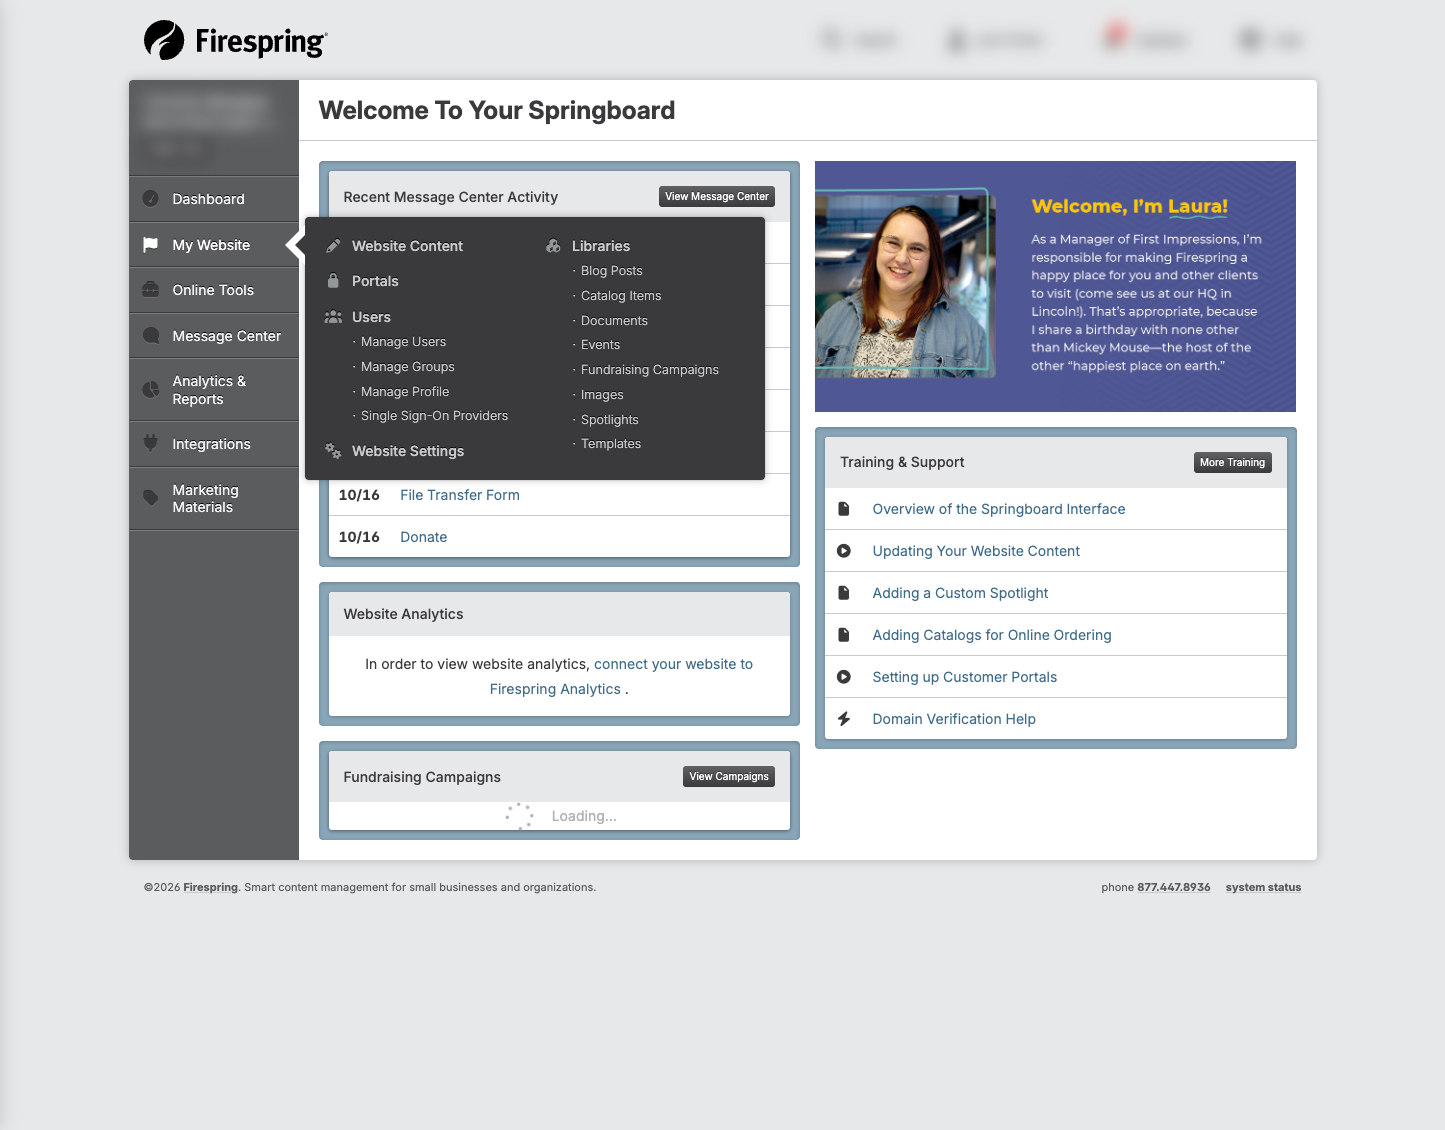
Click My Website in the left menu.
-
Under Libraries, click Blog Posts.

-
Click the green Add Post button.

-
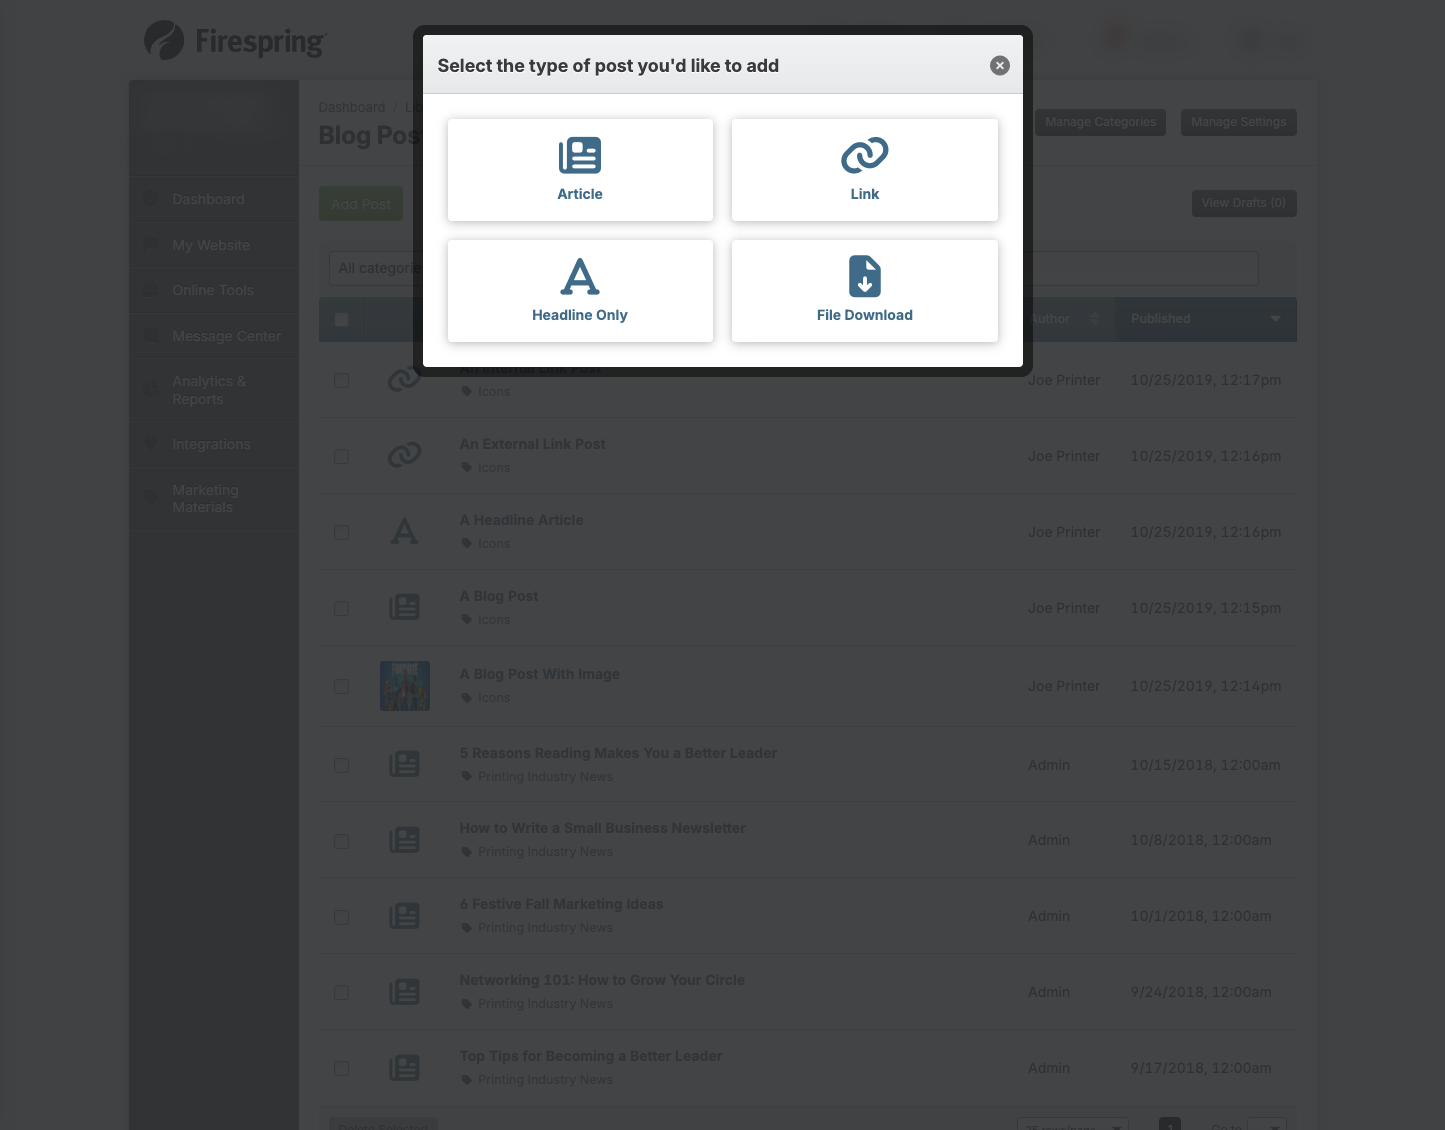
Choose the type of blog post you want to create:
- Article: This is your typical blog post, which contains text and an image.
- Link: A link post will redirect users to another page on your website, or to a page on a different website.
- Headline: These are shorter posts, useful for creating announcements or alerts, and will display the title, and an optional description and image.
- Download: This is a post that includes a file visitors can download, using documents uploaded to your Documents Library.
-
Fill in the required Info & Settings for your post:
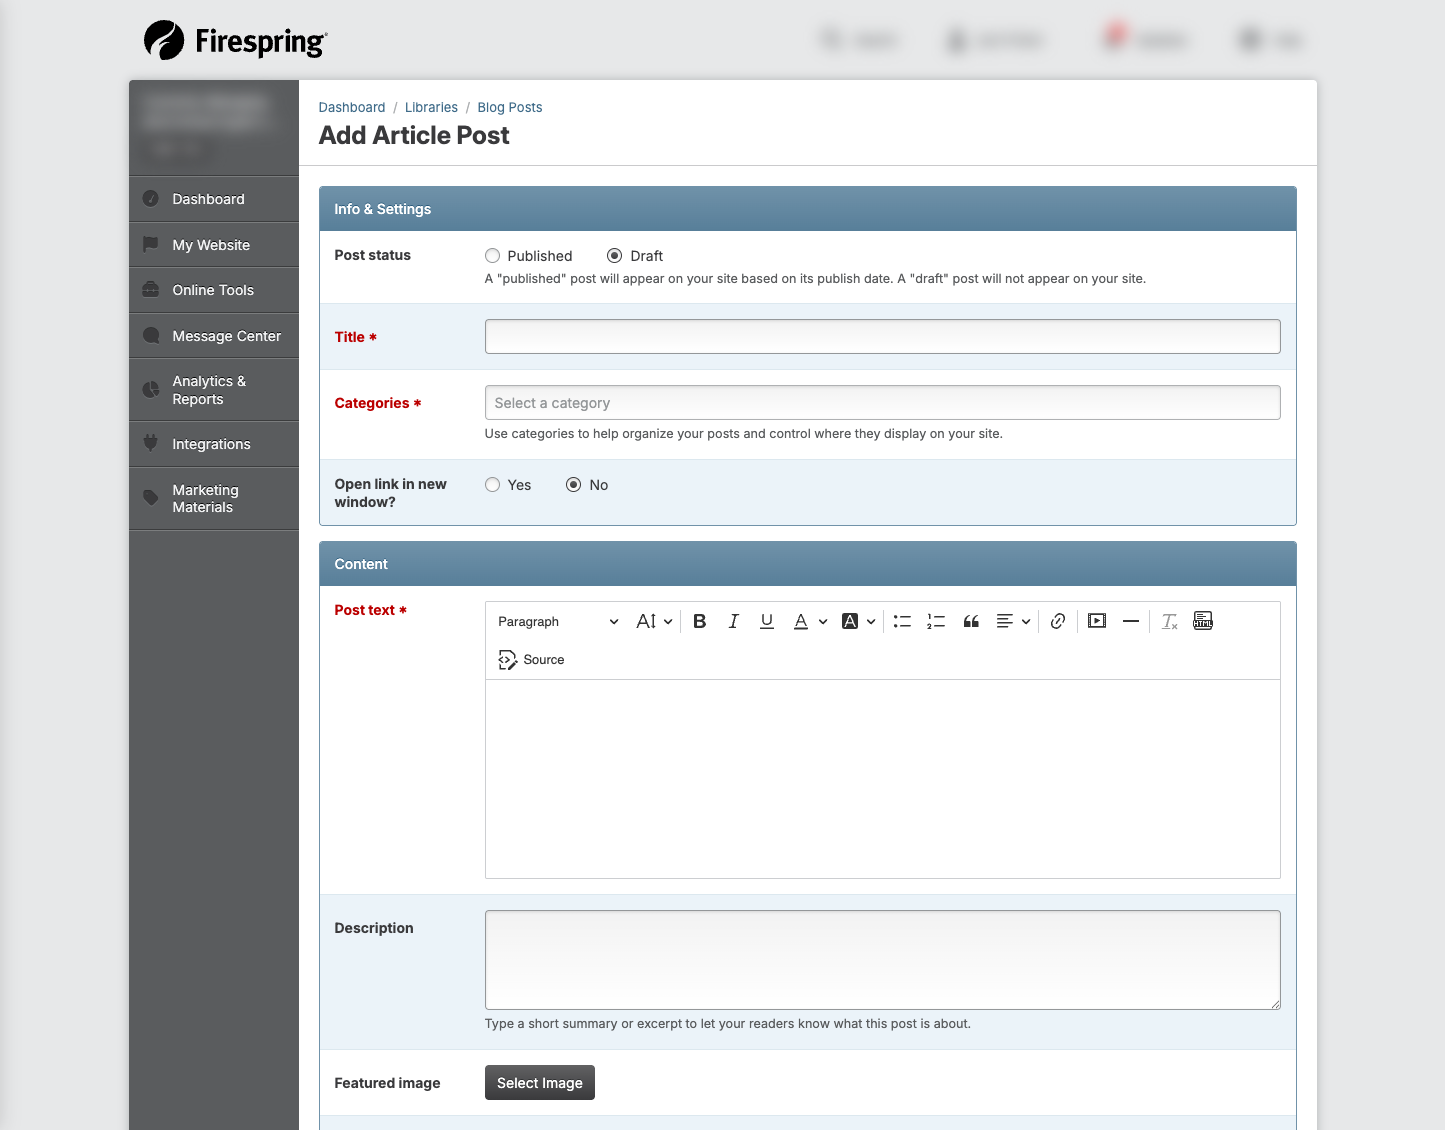
- Post status: By default your post will be set to Draft. Toggle to Published to set a date and tim for your post to publish.
- Title: Enter a title for your post. This will be the headline for this blog post.
- Categories: Choose one or more categories for your post from the drop down menu. The category will determine where a post will display.
- Open link in a new window: Choose Yes to open your article in a new window when the title is clicked. Leave the default No if you would like the article to open in the same browser window.
-
Fill in the required Content for your selected post type. Depending on the post type selected, you'll need to fill out some of the following:
- Post text: Enter your post content, then use the editing tools to format your text and add links when necessary.
- Link: Choose your preferred link type from the dropdown menu. You can link To a page on another site by entering a URL, or To another page on your site by selecting a page in the dropdown menu.
- File: Click Select File to choose your document from the Document Library, or to upload a new document.
- Description: Type a short summary to let your readers know what the post is about. This will display under the title on the page that displays your blog post.
- Featured Image: Click Select Image to select an image from your Images Library, or to upload a new image.
- Alternate text: Enter some text that describes this post's featured image. Alternate text helps improve your site's accessibility.
- Author: By default your Author will be set to Custom, with a text area to type in a name. You can also choose one of your Springboard users from the dropdown menu, or select None to opt out of having an author byline appear.
- Search engine title: This is what will appear on social media or search engines when this post is shared.
- Search engine description: This will appear beneath the search engine title on social media and search engines.
-
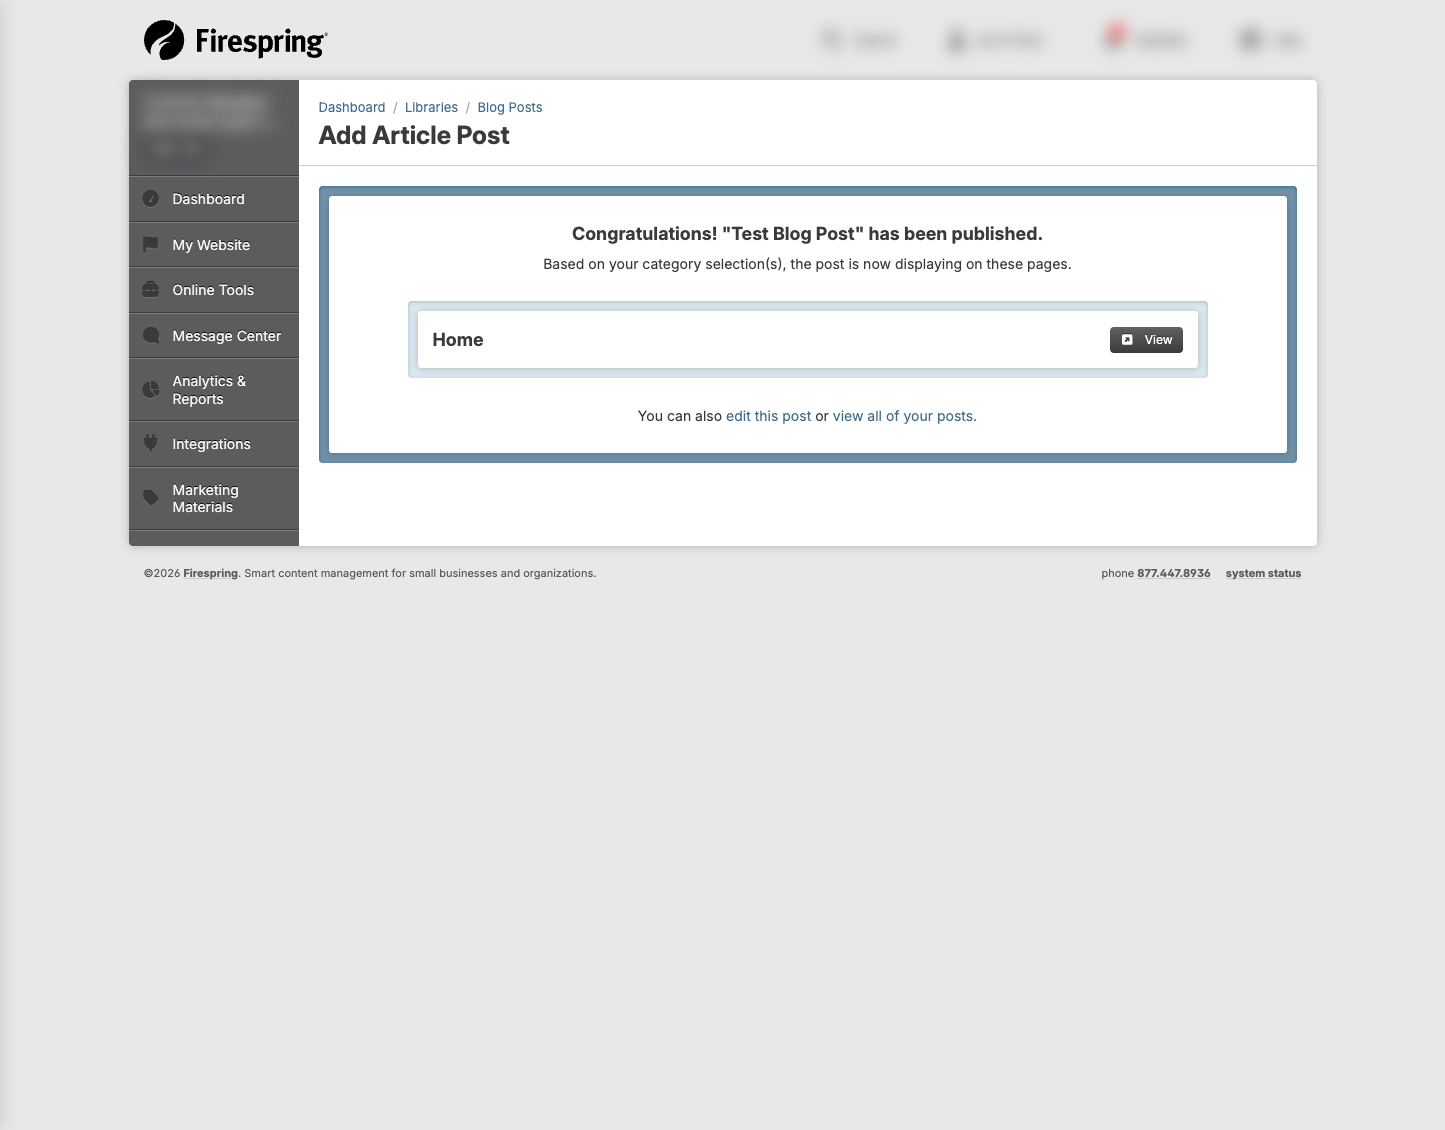
Click Save & Finish, or use the arrow to click Save & Add Another.
If you've chosen Publish, a confirmation screen will display with a list of where your post will display at the selected date and time. If you've saved your post as a Draft you'll be redirected to the Drafts area of your Blog Post Library. You can continue working on your blog drafts, or schedule them to post at any time by clicking the gray View Drafts button on the right hand side of your Blog Post Library.
Editing an Existing Blog Post
You can update your blog posts at any time. Here's how:
-
Click My Website in the left menu, then click Blog Posts under Libraries.
-
Locate the blog post you want to edit in the list.
-
Click the title of the blog post to edit the post.

-
Make your changes to the blog post.
-
When you've completed your changes, click Save & Finish.
Organizing Blog Posts with Categories
Categories help organize your blog posts by topic, so you can display different content on pages across your site. Your Blog Post Library comes preloaded with default categories for you to use, but you can add as many as you'd like to organize your content.
Managing Your Categories
-
Click My Website in the left hand menu, then click Blog Posts under Libraries.
-
Click the gray Manage Categories button in the top right corner.

-
Here you can:
- See all your existing categories
- Edit category names by clicking on them
- Delete categories you no longer need
- Add new categories
Adding New Blog Categories
-
Click My Website in the left hand menu, then click Blog Posts under Libraries.
-
Click the gray Manage Categories button in the top right corner.
-
Click the green Add Category button.
-
Enter a Title for your category. You'll select this title when creating a new blog post, or adding a blog post component to a page.
-
Click Save & Finish, or use the arrow to click Save & Add Another.
Adding the Blog Post Component to a Page
Adding the Blog Post Component to a page allows you to display categories of blogs on the pages of your website.
Add the Blog Post Component to an Internal Page
-
Click My Website, then click Website Content.
-
Click the title of the page to which you wish to add your blog.
-
Locate the Blog Posts content type in the left hand menu, and drag it to your preferred location on the page. Drop it into place on the page.
-
Update the Content location if desired. This will default to the content space in which the blog post content type was dropped.
-
Update the Content position if desired. This will default to the order in which the blog post content type was dropped.
-
Select your Blog categories using the dropdown menu. At least one category is required.
-
Select the # of posts to display using the dropdown menu. For internal pages, we recommend displaying up to 50 articles. More than 50 articles on a page can slow down the load time of your web page.
-
Choose the Display Order by toggling to your preferred choice. You can display newer blogs first, older blogs first or display the blog posts in a random order.
-
By default, Display blog post dates will be set to Yes. To remove the blog post dates, toggle to No.
-
By default, Display blog post previews in list will be set to No. To display the blog post preview on the page, toggle to Yes.
-
By default, Display post thumbnails in list will be set to No. To display the blog post thumbnail image on the page, toggle to Yes.
-
Important: Set your Archive page settings:
- Update the Archive Link Text, which will display with your blog posts and will link to an archive page within your site structure.
- Select your Archive page using the dropdown menus for Website structures and Website page. The Archive page determines where the full details of blog articles will display when clicked.
About Archive Pages
The Archive page must have the same categories selected as your blog component. It's recommended to create a simple page with only the blog component added, especially if your main blog component is located lower on a page layout. This ensures visitors can easily read the full article in a clean, readable format.
-
Click Save & Close.
The blog post content type will now automatically display blog posts assigned to the category, or categories, chosen to display. Click the green View Page button on the top right corner of your Springboard page to preview your new blog post content type in action.
Update Blog Post Component on your Homepage
Your homepage has been equipped with a stylized Blog Post Content Type. Usually the blog post area on your homepage will display anywhere from three to five blog posts at a time. You can personalize the content that is displayed in your blog on the homepage.
-
Click My Website, then Website Content.
-
Click the title of your homepage to manage content.
-
Navigate to the Blog post content type, then click Edit to open the display settings.
-
Update the Blog categories as desired.
-
Update the # of posts to display using the dropdown menu. For your homepage, we recommend displaying 3-5 articles at a time.
-
Update the Display order as desired.
-
Update the Display blog post dates as desired.
-
Update the Display post previews as desired.
-
Update the Display post thumbnails as desired.
-
The Archive link label and Archive page will be set on your homepage by default. Generally this will link to a News or Blog page in your site structure. You can update this by changing the link label text, and choosing a different blog page.
Archive Page Required
An Archive page is essential for proper article display. Without an Archive page, clicking a blog post will attempt to display the article details directly in the blog component area, refreshing the page. If the component is low on the page, users may not know to scroll down to read the article, and the space may not display the article in a readable format. The Archive page must have the same categories selected as your homepage blog component.
-
Click Save & Close.
Your homepage will now display blog posts from the selected category, or categories.
Tips & Helpful Guidance
-
Use eye-catching titles: Create titles that grab attention and clearly tell readers what your post is about.
-
Add images: Blog posts with images get more attention. Try to include an image in each post.
-
Format your posts: Use short paragraphs, bullet points, and headings to make your blog posts easier to read.
-
Be consistent: Try to publish blog posts on a regular schedule so your readers know when to expect new content. Make it easy on your team by loading articles in batches, scheduling them to post in the future so you don't have to worry about it.
-
Use categories strategically: Categories determine which articles display in news/blog feeds across your site. Use as many categories as needed to display content in the right places. Multiple categories can be assigned to a single post to make it appear in different feeds.
-
Update old posts: If information in an old blog post becomes outdated, update it to keep your content accurate.
Troubleshooting
Problem: Your blog post isn't appearing on your website
Solution:
- Check that the publish date is today or in the past, not in the future.
- Verify that the category assigned to the blog post is the category set to display on the page you're viewing.
Problem: The image in your blog post isn't displaying correctly
Solution:
- Make sure the image was properly uploaded when you created the blog post.
- Try removing the image and adding it again.
- Optimize your images for web display (aim for 200KB or less) for faster loading times.
-
Try using a web-friendly image format (JPG for photos, PNG for graphics with transparency, or WebP for best compression).
Please Note
Some web browsers do not support WebP images. Using them could result in image display issues for some users. To help minimize display inaccuracies, we'll dynamically create a PNG version of your WebP image as a fallback, however this may result in unexpected image quality or slow website load times for those users.
Problem: You can't find a blog post you created
Solution:
- Check your blog post drafts by clicking the View Drafts button in the top right corner of your Blog Post Library.
- Use the search box at the top of the list to search by title.
- Use the dropdown menus to sort by category or post type (custom posts or RSS feeds).
- If you still can't find it, it might have been deleted, or wasn't saved properly. Try creating it again.
Problem: Your blog post formatting looks wrong
Solution:
- Use the formatting toolbar to fix any issues with text appearance.
- If text copied from another program looks strange, try using the Remove Format button (the "Tx" icon with an underlined T in the Visual Text Editor), then reformat the text as needed.
- For serious formatting problems, try copying just the text (without formatting) into a plain text editor like Notepad, then copy it back into the Springboard.